Review: Molecover Moletape
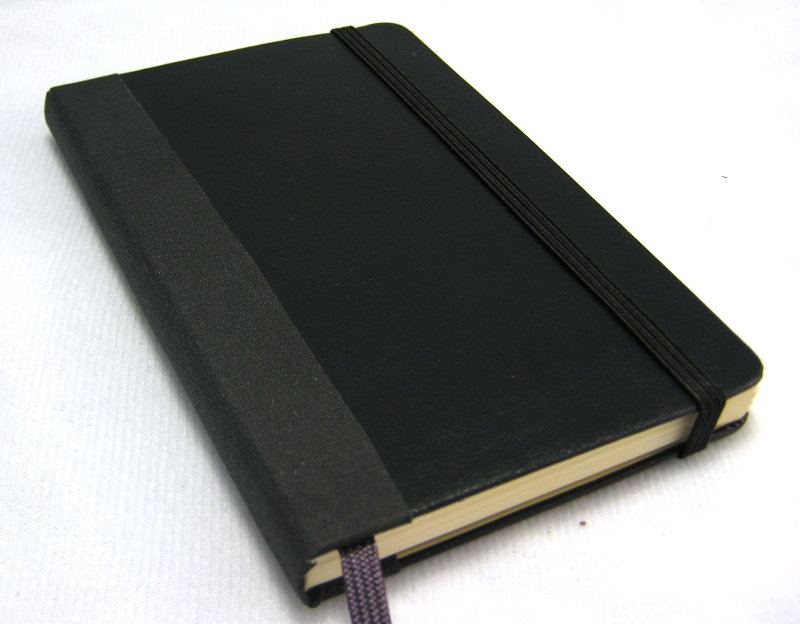
When Molecover put out the request for bloggers to review their Moletape, I jumped at the chance and I didn’t even own a Moleskine at the time. I think we all like getting free products, even if it carries the stipulation that we do some work for it. As soon as they confirmed they were sending me one, I ran out and bought a ruled Moleskine to test.
Molecover created this tape to strengthen the binding of the Moleskine which they claim is the weakest point of the notebook. A quick search on Google lead me to several pages where people have created home-brew fixes very similar to the Moletape to fix broken bindings so I assumed these notebooks were quite fragile. In order to give a good review, I wanted to break the spine on my Moleskine and promptly set out to do so. Despite spending a lot of time bending the notebook back and forth, from full closed to both covers open until they touched each other, I couldn’t get any more than a crease in my binding. Maybe I was doing something wrong or I got a strong one, but try as I might, I could not get the binding to crack or split at all. Finally I gave up, I know the problem exists, I just couldn’t manage to break this particular Moleskine.
Unable to destroy the spine, I gave up and decided it was time to install the tape. It’s a simple product and very simple to install so I decided to take you through my install steps.
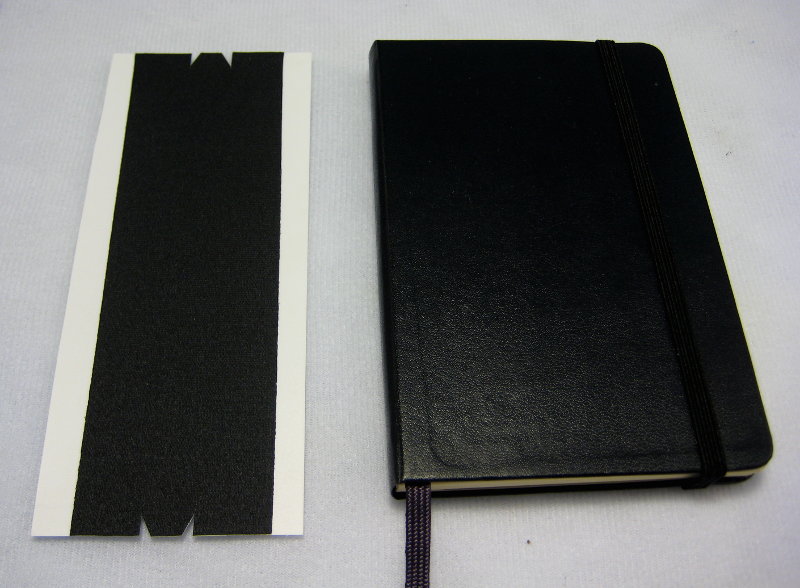
Naturally to start, you’ll need a piece of Moletape and a Moleskine notebook. According to their website, Molecover is now shipping a piece of Moletape free with every Molecover purchased.
Removing the tape from the backing material was a lot harder than I expected. This isn’t a weak tape, it has a stickiness that surpasses duct tape and as a result, you’re going to want to be very patient during the install. Once I had the tape removed from the backing material, I laid it on a flat surfface, centered the Moleskine as best I could, and carefully pressed the spine down onto the tape.
The next step is simply a matter of rolling the sides of the tape up onto the cover. Take your time here, I ended up with a big crease on one side and it wasn’t too hard to peel back off but a little more patience would have prevented the problem. Using my thumb and sliding it back and forth outward from the spine, I slowly pressed the tape down onto the cover. This will leave the ends sticking out but that’s OK, we’ll take care of that next.
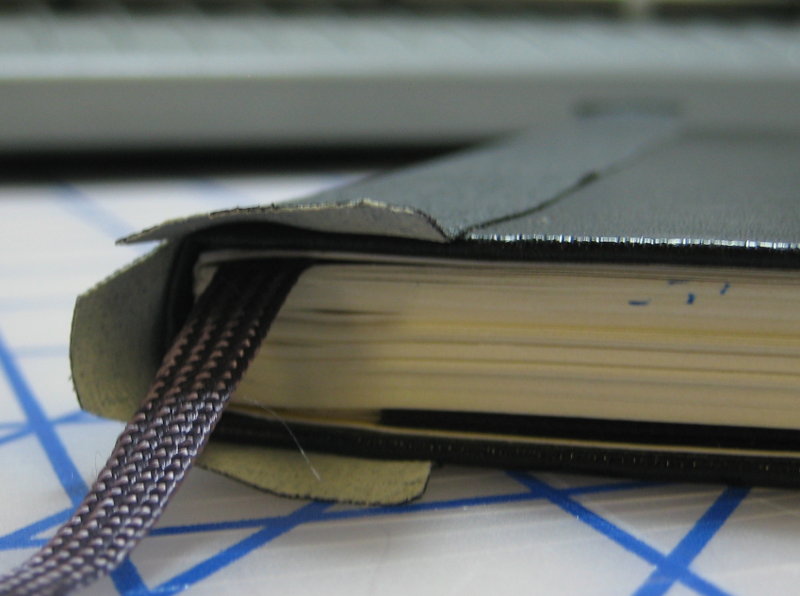
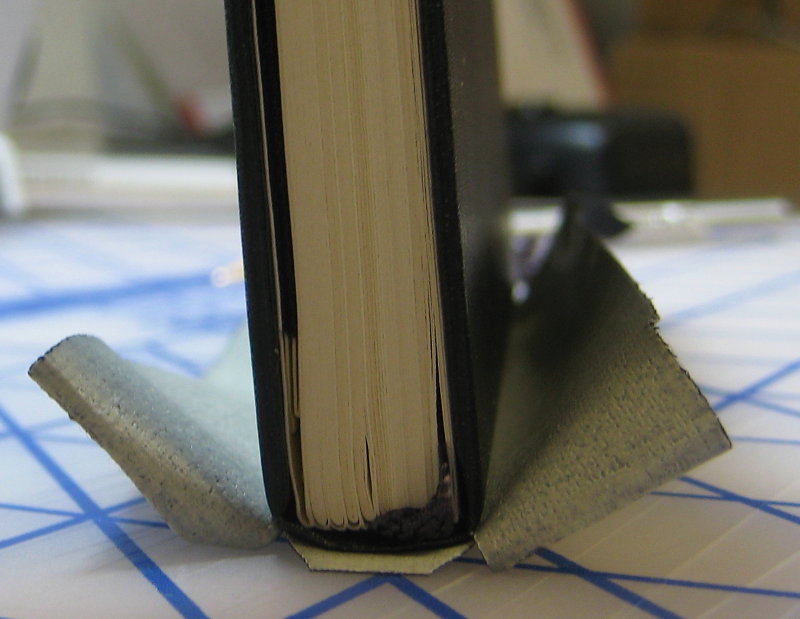
Now we need to fold the ends in. You can do both ends at once, but you want to only focus on the outer flaps that will go over the cover, leave the center section for last. Once you’ve rolled the outer flaps of the tape over the cover, you can move on to the center portion. I’d recommend using something like a house key or something similarly small enough to stick down into the spine. Open both covers so the spine bows outward and then carefully roll the center portion down into the bowed out spine. Again, patience is the key here. Once you’ve got the one end done, flip the notebook over and do the other end.
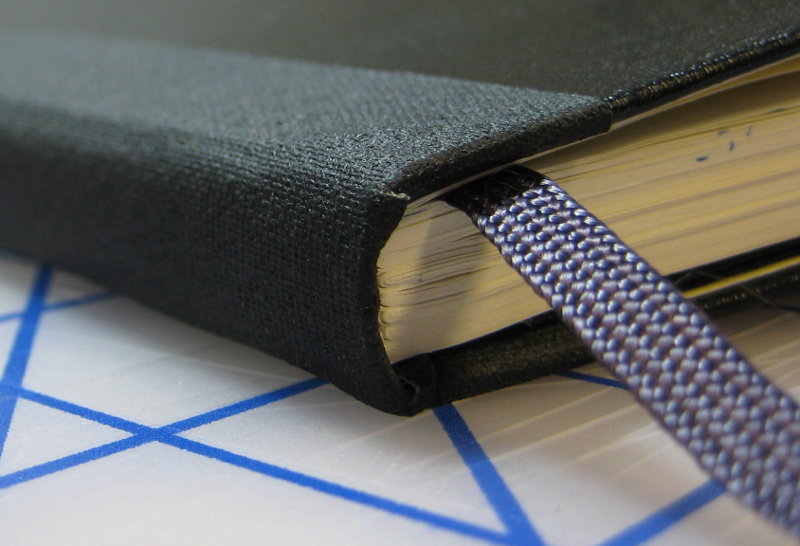
And there you have it, your Moletape is installed!
I really wish I could have broke the spine to show the repairing power of the Moletape but it’s quite easy to see the additional strength this tape is going to add. Thanks to the very sticky adhesive, I don’t see this coming off easily, and your spine should be able to handle all the opening and closing you can muster. I can definitely see this being a very good investment if you’re a heavy duty Moleskine user.